One of the benefits WorkRecords offers is the ability to simplify the invoice process, while eliminating invoice disputes. When all invoices are presented through WorkRecords, WorkRecords can ensure that every TimeCard:
- has Labor Buyer approval prior to invoicing
- calculates based on the financial agreement on the Order Confirmation
- is presented for payment on only one Invoice
When a Labor Supplier presents an Invoice in WorkRecords, the Accounting contact on record automatically receives an email notification with the Invoice attached. The Accounting contact's name and contact information are provided to WorkRecords and are entered into the configuration when the Labor Buyer's account is set up in WorkRecords. (Note: This person's name and contact information can be updated through WorkRecords Support as changes are needed; simply open a Support ticket.) While the Accounting contact on record automatically receives an email notification with the Invoice, all other users for the account can simply log into WorkRecords to view Invoices through the Search Invoice View.
**Note: Additional users that are listed as the Buyer Primary Contact on any TimeCards associated with the Invoice can also receive an email if the Labor Supplier is directed by the user to manually add them to the email distribution. Most prefer, however, to use the View called Search Invoice in their account.
Within WorkRecords, Invoices can be marked as reviewed, vouchers can be assigned, and check numbers can be assigned to vouchers. This allows for easy communication and tracking between the Labor Buyer and Labor Supplier!
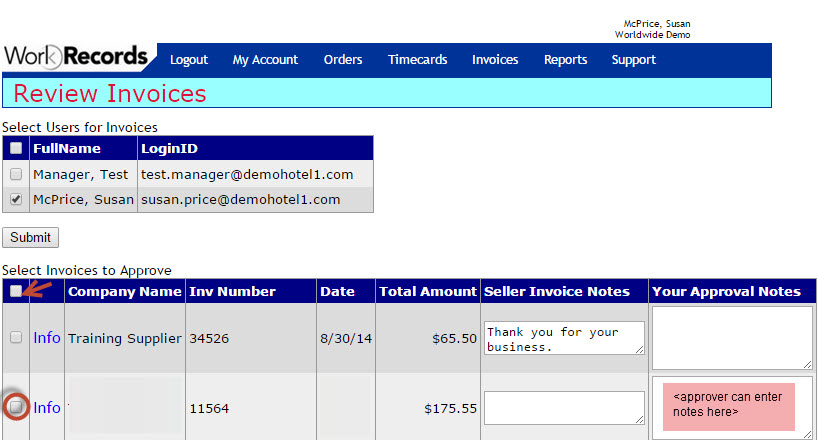
Review Invoices
-
To review an Invoice, start by navigating to Invoices on the blue header bar and selecting Review invoices from the drop-down menu.

-
Select the user name from the alphabetical listing and click the Submit button.

-
All available Invoices for this user to approve will be displayed. A single Invoice can be selected as shown below or the checkbox in the blue bar can be selected to effectively check all Invoices listed. A notes field is available to enter any notes by the approver.
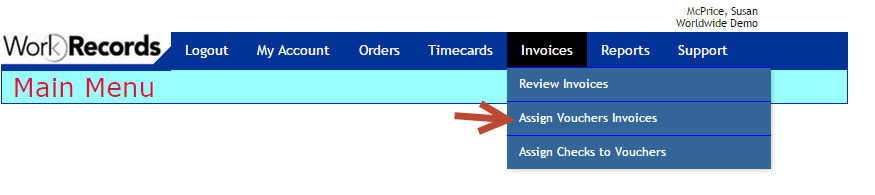
Assign Voucher Numbers to Invoices
-
To assign voucher number to Invoices, start by navigating to Invoices on the blue header bar and select Assign Vouchers Invoices from the drop-down menu.
-
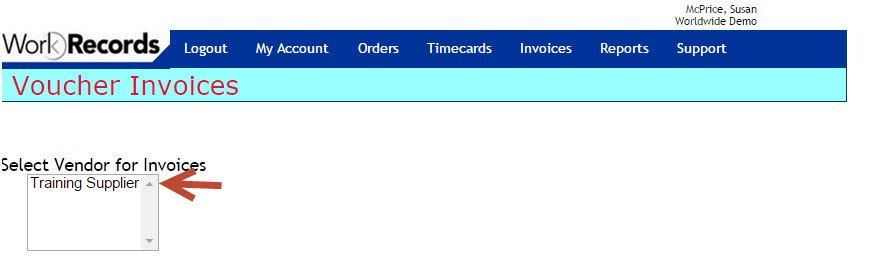
Select the vendor name from the alphabetical listing.
-
All outstanding Invoices for this vendor will be displayed. Click the Select hyperlink next to the Invoice to which the voucher number should be assigned.

-
Enter the voucher number for the Invoice selected and click the button.

-
After clicking the Submit button, you can select another Invoice to assign a voucher number for this vendor or select another vendor.
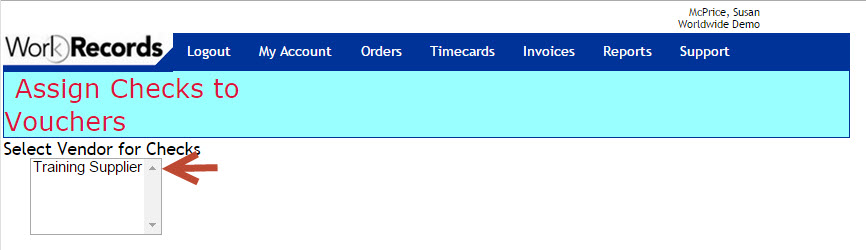
Assign Checks to Vouchers
- To assign checks to vouchers, start by navigating to Invoices on the blue header bar and selecting Assign Checks to Vouchers from the drop-down menu.

-
Select the vendor name from the alphabetical listing.
- Enter the check number and check date. Select the correct unpaid voucher from list, then click the Submit button.

- Click the Create Check button to complete the process. A notes field is available to enter any notes for this check.
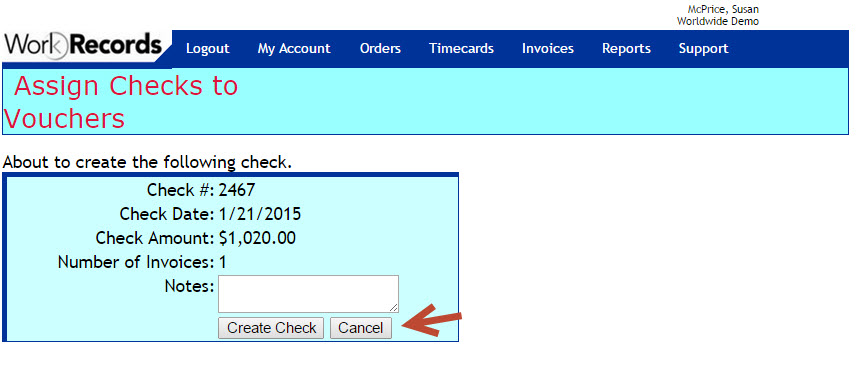
- After clicking the Create Check button, a notification will appear that the check has been created. You can select another voucher to assign a check number for this vendor or select another vendor.
Click here to learn more about Completing Month-end Reconciliation in WorkRecords!